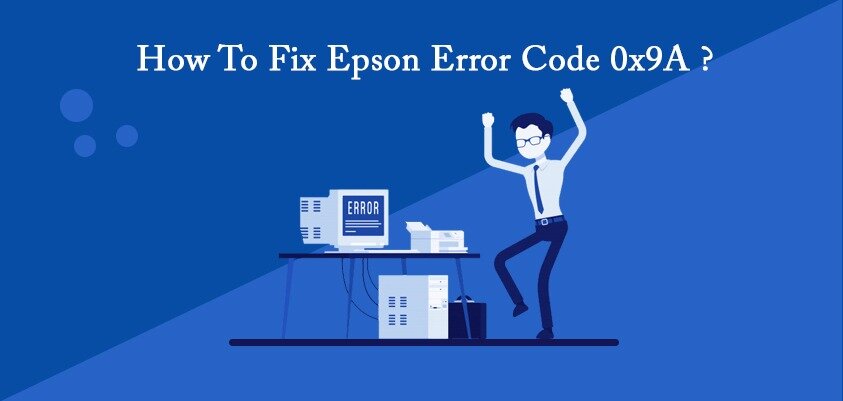
If your computer has stopped working because of the Epson Error code 0x9a and you don’t know how to fix it then you are in the right place. This article will talk about what the 0x9a error is, what causes the error, and how you can fix it.
We will also describe some methods to solve the error step by step to easily follow the solutions. If you use one of our methods we are sure that you will be able to get rid of error 0x9a. Moreover, we will also discuss some solutions that you should not use to fix the Epson error.
Read more about Best Printer for Labels & Stickers
Contents
What is the Epson Error Code 0x9a?

The Epson Error Code 0x9a is mainly a notification that appears to report a problem in the Epson printer. The error commonly appears in the LCD of the printer. The error can be very frustrating because it appears during the printing process and the printer stops functioning after it. The users with Epson WF-4630, WF-3640, or WF-7610, printer models usually face this error.
The error usually appears without any warnings or notifications and this can be worrying because you can’t prevent it moreover it also makes the error hard to understand and the solution also becomes out of reach.
Most people use a patch or a utility to fix the Epson Error Code 0x9a. However, you should definitely not trust a third party when it comes to your computer, and if you think that a patch can fix you are not on the right path.
You also have to remember that the error may not be related to the printer; it may be caused by your computer. In such a situation you will have to manually remove the error code.
Learn more about Best Polaroid Printers for iPhone
How to fix Epson Error Code 0x9a?
Now we will discuss some methods you can use to fix Epson Error Code 0x9a.
Method 1

The first method is to disconnect the printer, reconnect it and remove the trapped paper as we discussed the error may be caused by your computer hence reconnecting the printer may solve the problem. To use method 1 follow the below-mentioned steps.
-
Step 1:
The first step is to cancel all print jobs this will ensure that no progress or data is lost. - Step 2:
In the second step, you will disconnect the USB cables that are connected to your printer. Make sure that your printer is not connected to your PC. After this step, your computer and your printer will not be connected in any way. - Step 3:
Open the printer and remove any extra or trapped paper that may have caused the error to occur. - Step 4:
Step 4 is to remove the cartridges and insert them again. Make sure you carefully place the cartridges in their respective positions. - Step 5:
Now press the power button on the printer and make sure that you clean the printer carefully and remove any remaining debris from the interior of the printer. - Step 6:
The last step is to make sure that your printer and your computer are properly connected. This method will probably fix the error, you can try printing a document again.
Check HP Caps Lock Blink Codes
Method 2

The second method is to restart the printer by disconnecting it and reconnecting it again. If the problem is in the printer this method will solve it. To use method 2 you will have to follow the below-mentioned steps.
- Step 1:
The first step is to turn off your printer by pressing the OFF button for a few seconds. - Step 2:
After step 1 you will have to remove all of the cables and wires connected to your printer. - Step 3:
Once you have removed all of the cables, wait for a few minutes and press the ON button for about a minute. - Step 4:
You will have to keep the ON button pressed while plugging the power cord hence you should ask someone for help. - Step 5:
Keep the button pressed for one more minute after plugging the power cord. After releasing it try printing a document and see if the error persists.
Check out How to Fix Canon Error 5100?
Method 3

If both 1 and 2 methods don’t work you likely need to clean your printer heads. This method is usually very effective. Follow the below-mentioned steps to fix Epson error code 0x9a by using method 3.
- Step 1:
The first step is to turn off your computer and disconnect the power cord make sure it is not connected to your PC as well, - Step 2:
Open the printer case and take a piece of cloth, fold the cloth in such a way that it can go under the printhead. Make sure that the cloth is wet with a liquid that has ammonia in it. - Step 3:
The last step is to place the cloth under the printhead and leave it there for about 12 hours.
Try How to Fix Canon MP620 B200 Error?
Conclusion:
In this article, we talked about Epson error code 0x9a. What causes the error and what methods you can use to fix it. We also discussed the solutions that you should not use to solve the error. We talked about three different methods in detail and we explained them step by step so that you can easily follow along. Hence, whenever you have to face the error again, you can easily use one of our methods to get rid of Epson Error code 0x9a. We are sure that you will find our methods helpful and useful.
![16 Best Sublimation Printer in 2022 [For Mugs & Shirts]](/wp-content/uploads/2020/09/Print_to_printer-150x150.png "16 Best Sublimation Printer in 2022 [For Mugs & Shirts]")
![12 Best 5x7 Photo Printers [For Photographers 2022]](/wp-content/uploads/2020/09/Best-5x7-Photo-Printer-150x150.jpg "12 Best 5x7 Photo Printers [For Photographers 2022]")

![7 Best 3D Printers for Cosplay in 2022 [Props & Costumes]](/wp-content/uploads/2020/09/Best-3D-Printers-for-Cosplay-150x150.jpg "7 Best 3D Printers for Cosplay in 2022 [Props & Costumes]")